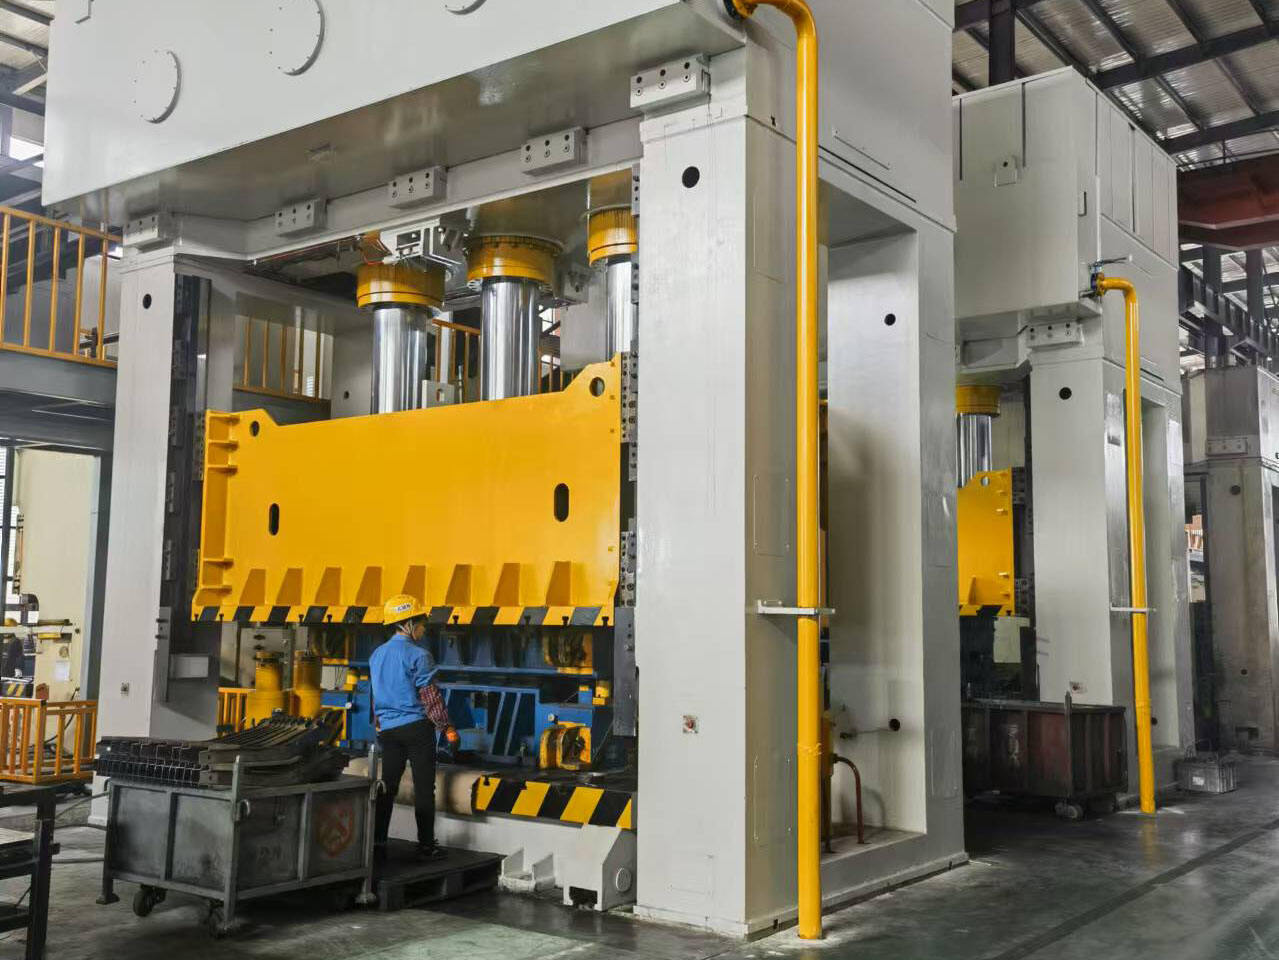
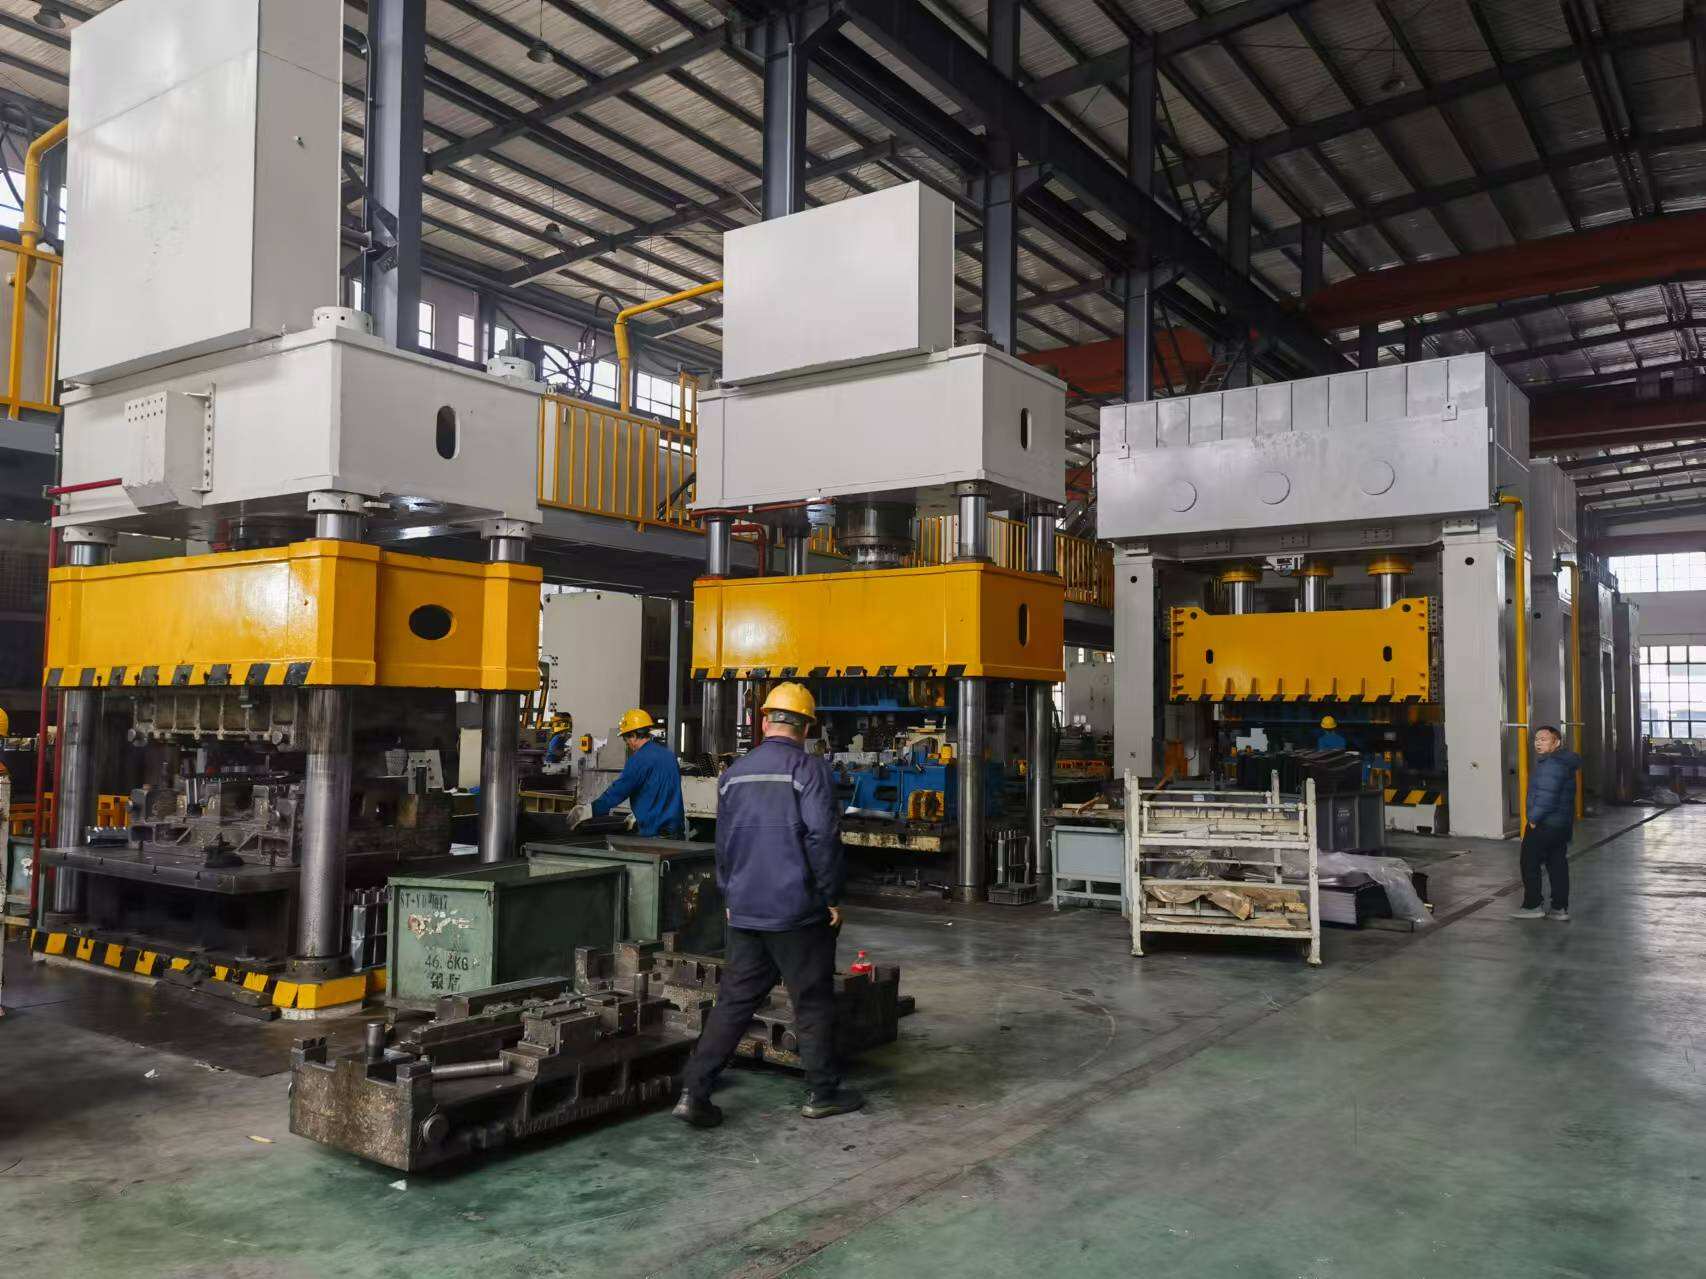
In the automotive industry, the quality of parts is paramount to ensure the safety, performance, and reliability of vehicles. The quality inspection process for automotive parts is a critical step that involves a series of systematic checks and tests to verify that each component meets the required standards. This process is essential to prevent defects, reduce failures, and maintain the high standards expected by consumers and regulatory bodies.
1. Initial Inspection
The quality inspection process begins with the initial inspection of raw materials and components. Suppliers must provide materials that meet the specified quality standards. The inspection team checks for any visible defects, such as cracks, deformities, or inconsistencies in material composition. This step is crucial to prevent the use of substandard materials that could compromise the final product.
2. Dimensional Checks
Once the materials pass the initial inspection, the next step involves dimensional checks. Automotive parts must adhere to precise measurements to ensure they fit correctly within the vehicle assembly. Inspectors use various tools, such as calipers, micrometers, and coordinate measuring machines (CMMs), to verify that each part meets the specified dimensions. Any deviations from the required measurements result in the part being rejected or sent back for rework.
3. Functional Testing
After confirming the dimensions, functional testing is conducted to ensure that each part operates as intended. This may involve testing the part under simulated conditions to mimic real-world usage. For example, engine components might be tested for durability and performance under high temperatures and pressures. Electronic components are checked for proper functioning and compatibility with other systems.
4. Visual Inspection
A visual inspection is performed to identify any surface defects or irregularities that might not be apparent during the initial inspection. Inspectors look for signs of wear, corrosion, or damage that could affect the part's performance. This step is vital for aesthetic components as well as functional ones, as visual defects can impact customer satisfaction.

5. Non-Destructive Testing (NDT)
Non-destructive testing methods are employed to evaluate the integrity of parts without causing damage. Techniques such as ultrasonic testing, magnetic particle inspection, and X-ray imaging are used to detect internal flaws, such as cracks or voids, that are not visible to the naked eye. NDT ensures that parts are free from defects that could lead to failure during operation.
6. Documentation and Record Keeping
Throughout the inspection process, detailed records are maintained to document the findings and actions taken. This documentation is essential for traceability and accountability. It allows manufacturers to track the quality of parts over time, identify trends, and make improvements to the production process.
7. Final Approval and Packaging
Once a part has passed all the inspection stages, it is given final approval and prepared for packaging. The packaging process must also meet quality standards to protect the part from damage during transportation and storage. Each part is labeled with relevant information, such as the manufacturer's details, part number, and any necessary warnings or instructions.